Preparation
The final prep was/is upon us! We were incredibly tight to the deadline so we’re doing this one post hoc…
Two nights of pain, misery and electronics lay/lie ahead/?. Baton down the hatches and tell your other halves you love them.
Thursday night

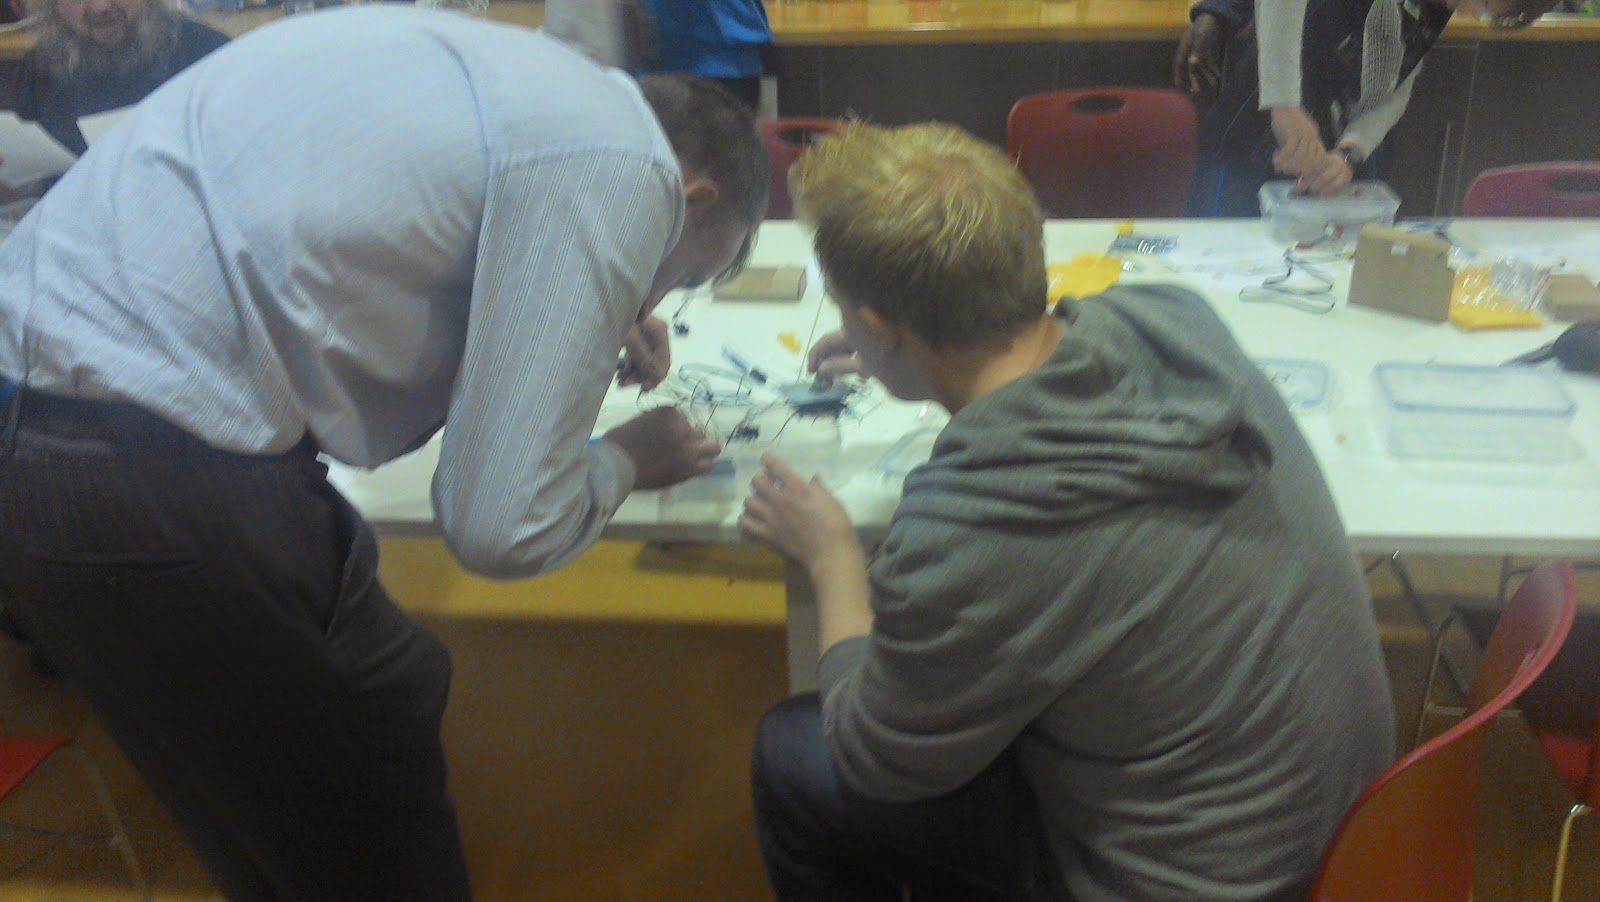
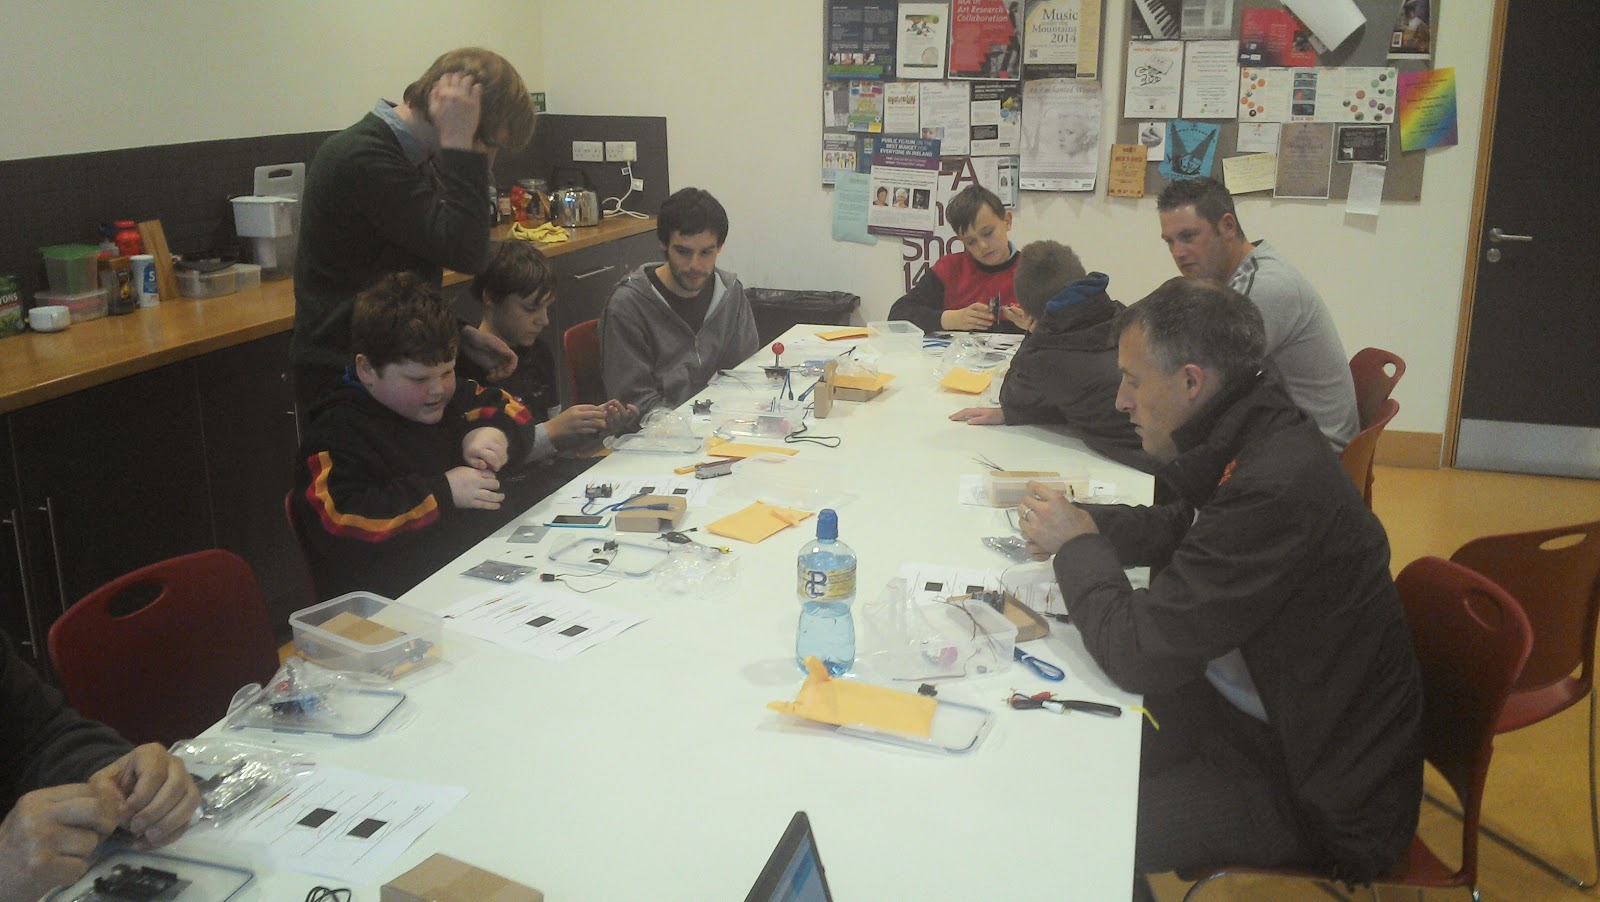
Martin and Greg do science.
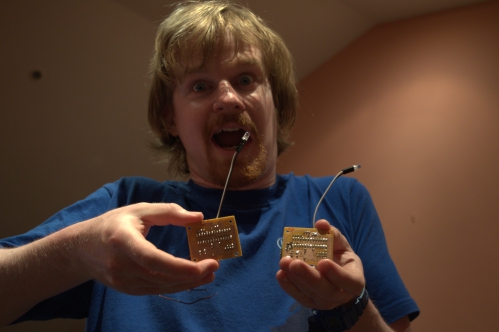
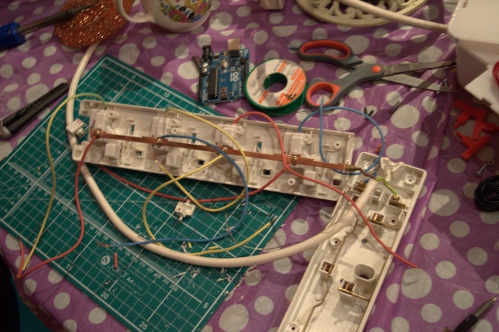
Martin worked on the sensor aggregation and Greg worked on the sensor box enclosure and PCB design. The PCB came out awesome. It was made using the etching process described in a related post. It is surprisingly detailed!!! Check out the close up…
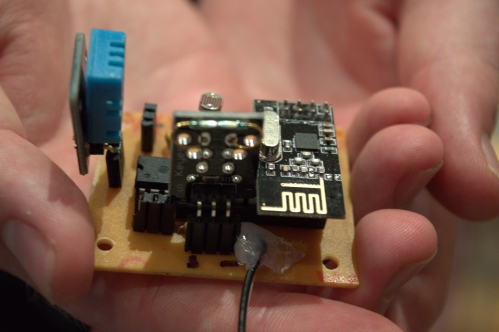
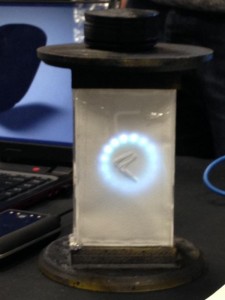
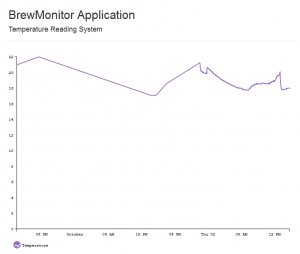
For a compact package it does quite a lot! temperature, humidity and light are being measured. It is then read on a ATTIny chip and then transferred over bluetooth to a gateway device. It is, to borrow a word, the tits.
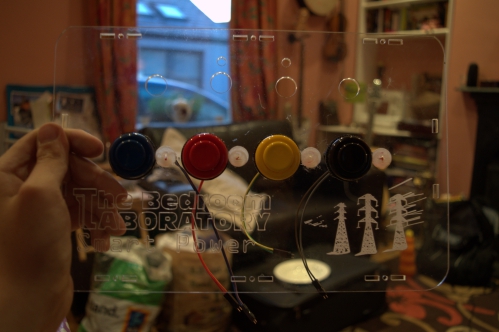
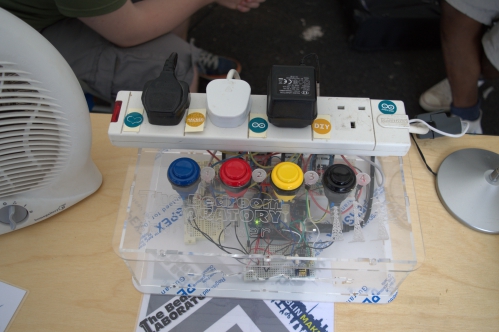
Box enclosure
The box came out alright! Pic of drawing it up with martin during the week… I’m going to write up a post about the process separately. It was quite nice to go from an idea to a working prototype in 3 days. shows the power of modern maker tools. Anywho, the output was pretty!
It was cut in the UCL institute of making, on their super awesome laser cutter. we’re going to go through a big upload of the various parts of the design, between thingiverse and github. Stay tuned, we’ve a big lump of this to do over the coming month or so!
Plug was fun, it always facinates me the practical mechanical solutions to older technologies. I would always think of electronic solutions to problems.
The classic example is the shower (bear with me)

A shower does PID style portortional control of temperature using purely mechanical technologies. The mixer uses a 3/2 valve to mix the hot and cold.

However as you shower the hot water reduces and the cold water increases and your temperature changes. how the system adjusts for this is by including a wax in the inside of the barrel of the 3/2 valve. The wax contracts as it gets colder and shifts the valve over a bit. This increases the flow of hot water in relation to cold water and to the user maintains (theoretically) a more steady and temperature consistent flow of water.
This obviously has its downsides… The response time of the material (or its {science term for what I’m talking about}) is quite slow and cannot account for sudden reducitions in hot or cold water. This is why a flush of your toilet can scald you or someone turning on the hot tap in the kitchen makes you super cold. Anyway I digress… So 3/2 valv… Extension cords.
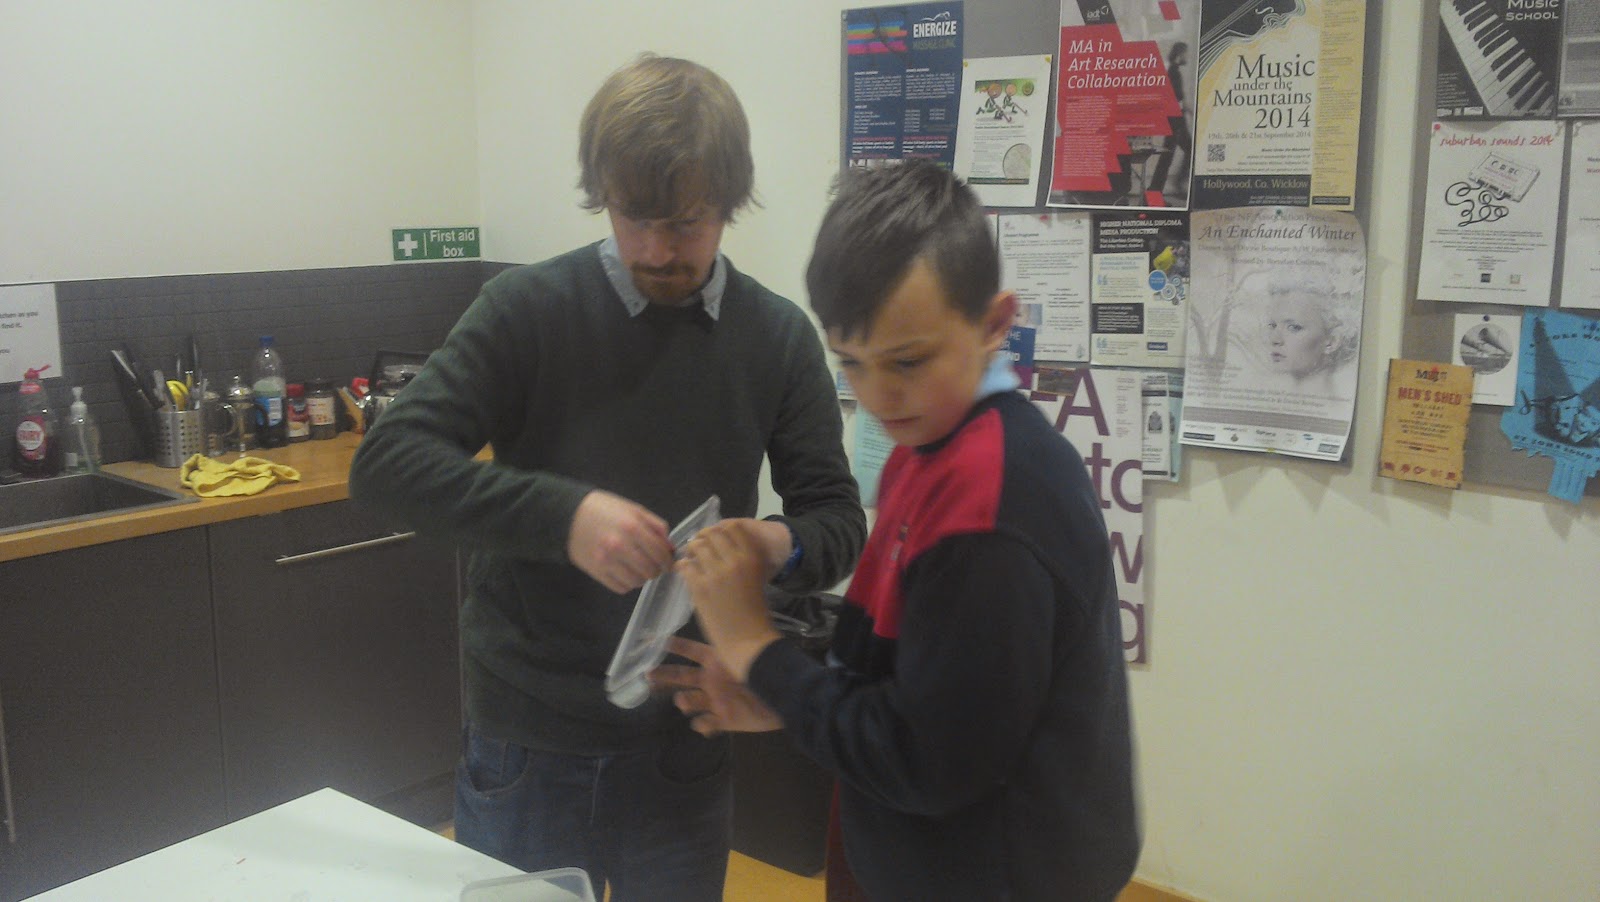
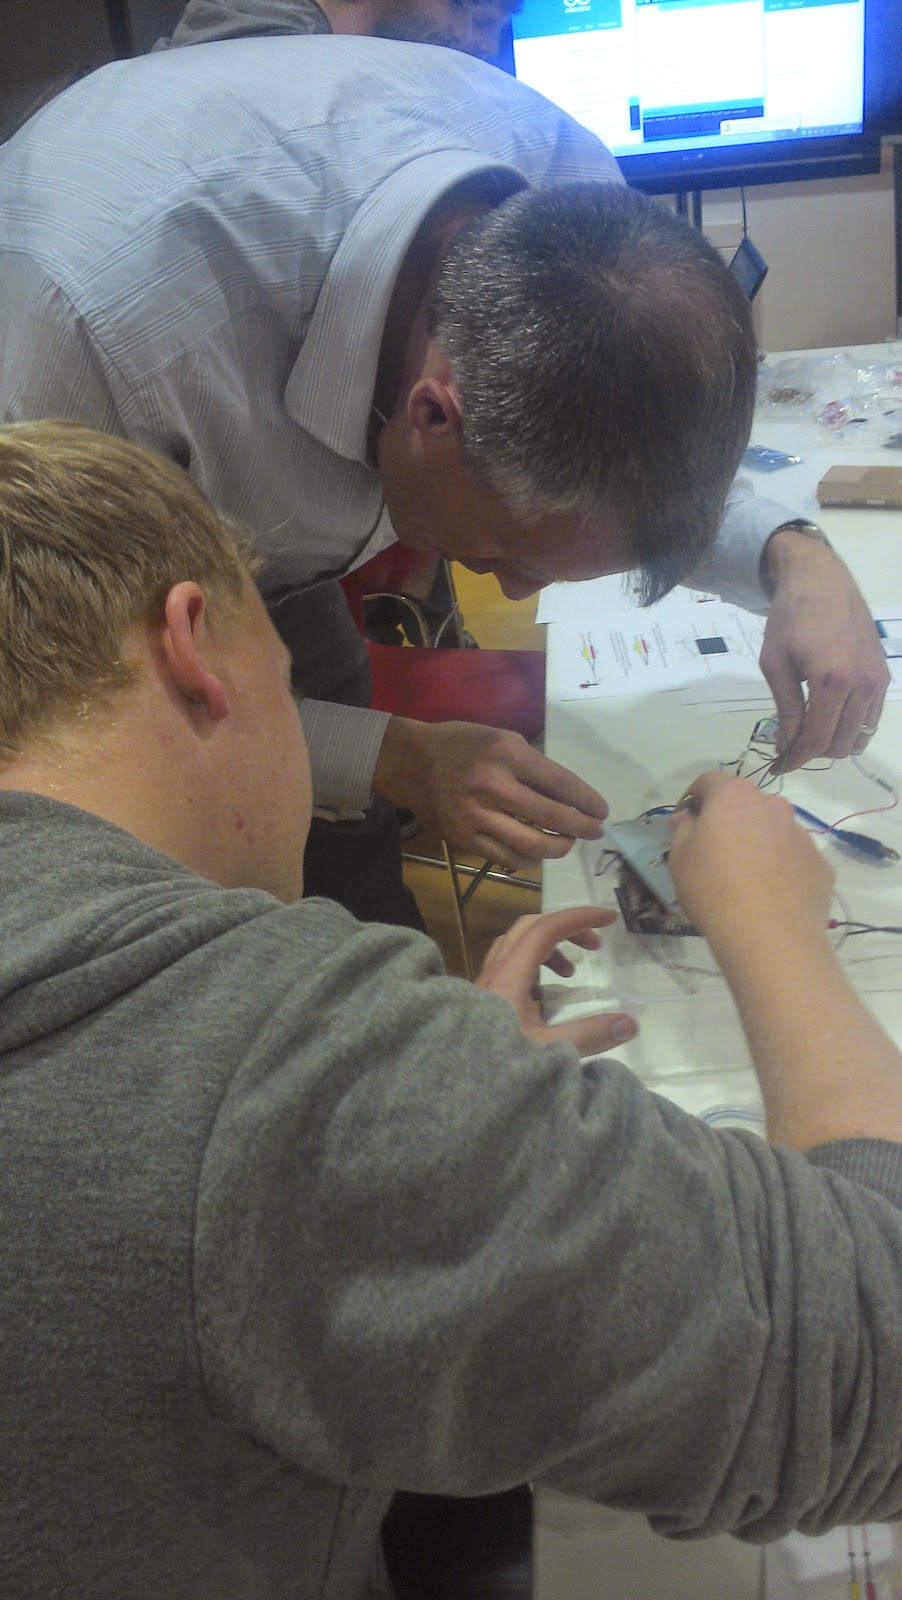
Its super mechanical. Taking it apart was a lot of fun and brought me back to my mechatronic roots. It was a simple fix. Remove the switch and wire in wires to each of the individual live lines of each switch. We stripped a kettle lead to get the proper thickness wire and broke our the wires through the the bottom part of the plug through drill holes. These fed into the acrylic box through the lasercut holes. This was attached to relays and hey presto, electromechanical switches that can be arduino controlled. Check out the final product:
stay tuned for github and thingiverse link ups here and feel free to comment on any suggestions for changes below the fold.
Hope you learned something about showers smart plugs.
Friday night
I’m tagging in the gang WWE style here as I was sleeping
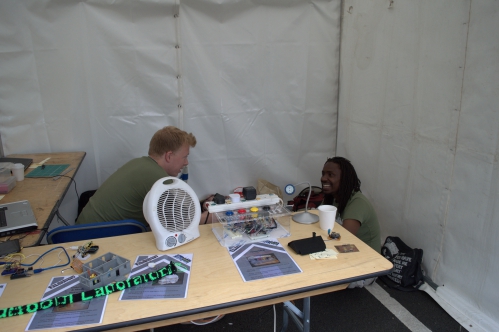
MakerFaire Day
The weekend went really well. Got to talk to a lot of people about our open source projects and how home automation can be improved through the use of open source technologies. The stand looked pretty cool too!
One of my favourite bits of the faire was the twitter knitter from TOG. You can see our bedlab scarf on the table, it was awesome!!!
There were some other really fun projects. There was a modular music modulator box system, a turntable giant spirograph and a blacksmith.
We also met our first fan, everyone was happy about this other than the fan.
I spent a fair bit of my time at the intel stand as it was a bit of a work trip for me. It was a lot of fun, I played the Mrs. Doubtfire for the night (sans the crossdressing (or even a reversible shirt)) managed to get over to both for much of the day. I was showing a twitter activated bubble maker. I never thought I would utter the phrase “I just can’t get my bubble machine to connect to the internet” but alas I did. It looks pretty nice though!

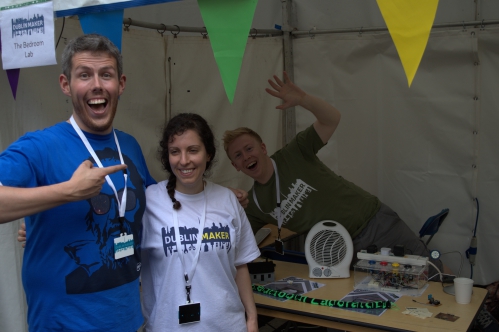
Anywho, that was us. We look forward to the next one… Bring it on!!!

 Building on from work by

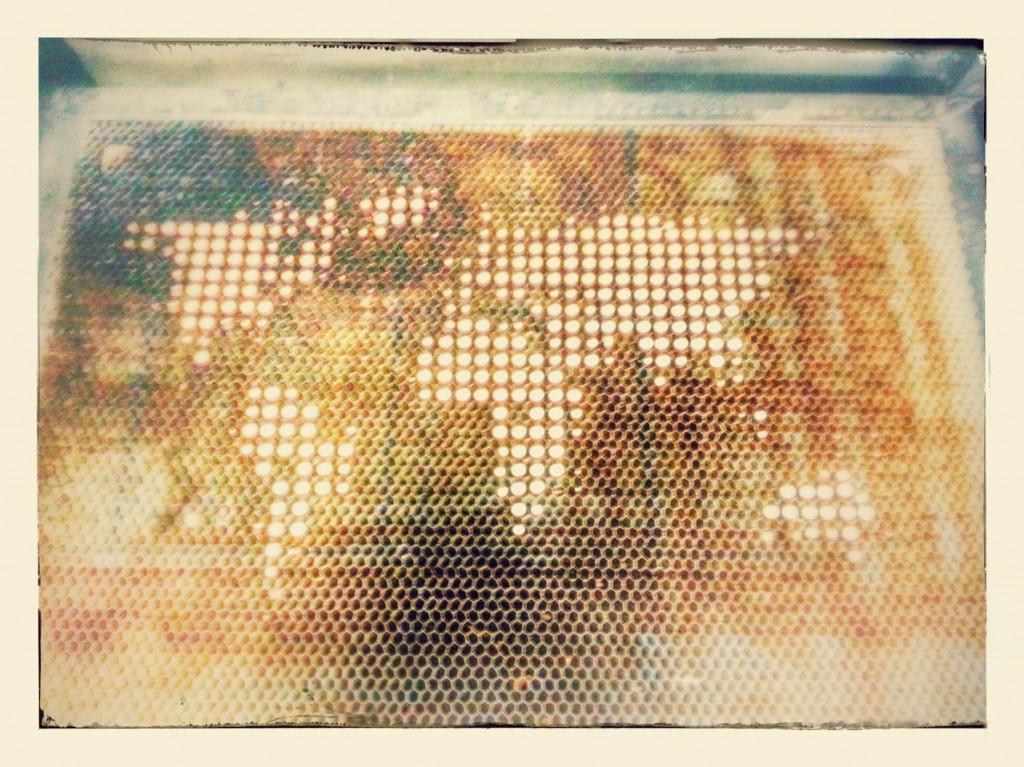
 With that in mind, have a gander at this:
 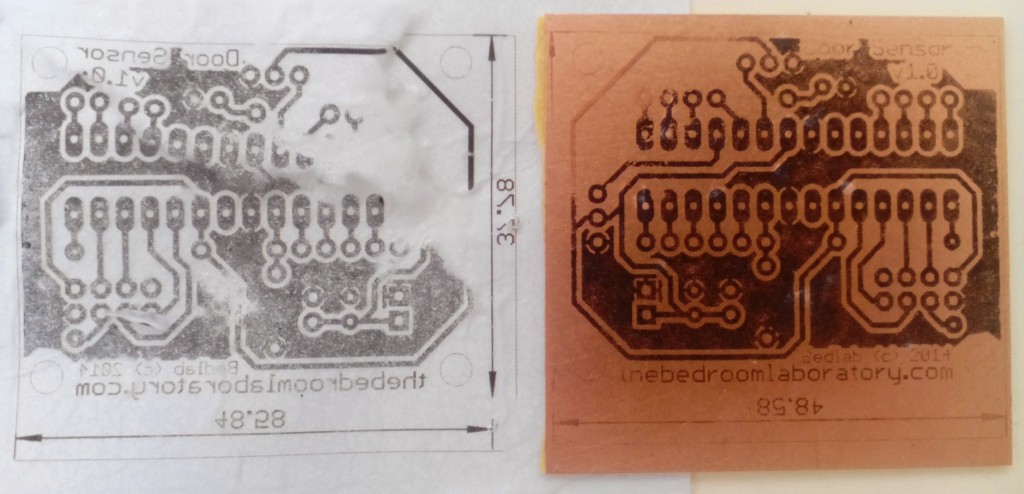 Tomorrow we’re going to take a trip to get as many different types of glossy and magazine-page types of paper that we can and try again.I’ll keep you posted on how the rest of the process goes over the next week. I have a feeling it could take a while to figure out all the issues related to making a functional PCB but it really is quite a fun challenge!
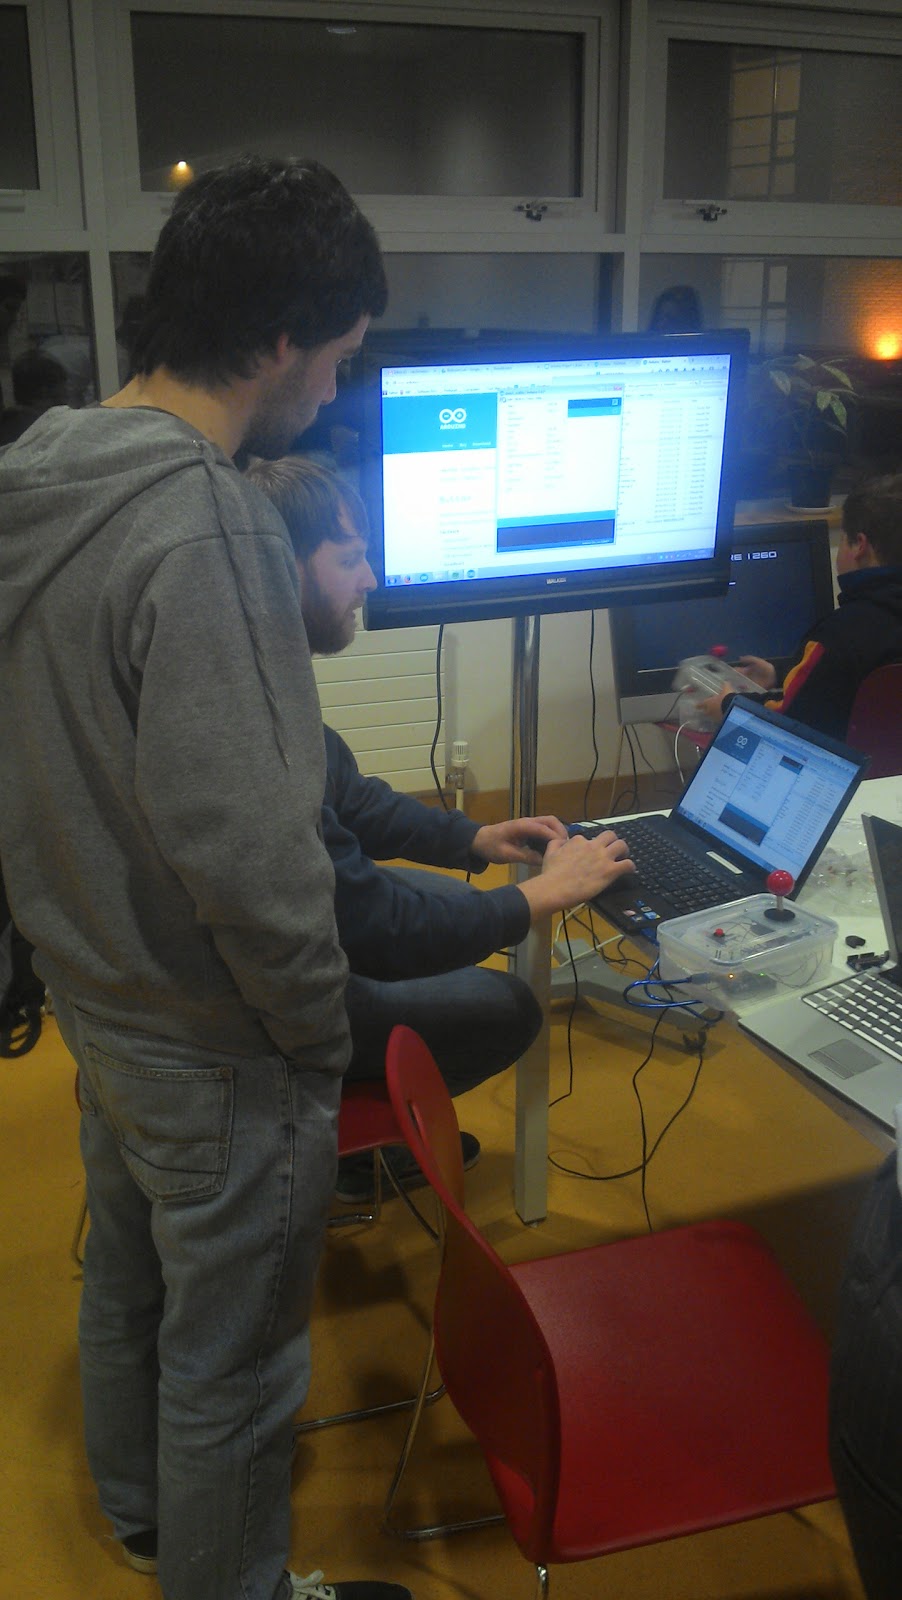
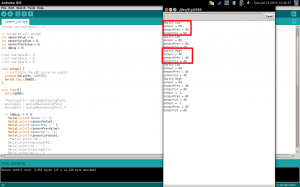 sends a High signal to the Relay when a 1 (49) is sent - via Serial Input and when a 0 (48) is sent, a Low signal is sent. Effectually turning the power on:
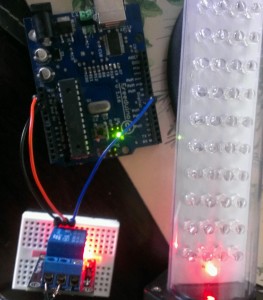 and off:
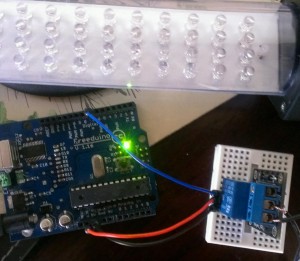 respectively.